
Today I am going to show you step by step how to install NoMachine. Alongside, I will also be showing you how to utilize this application to connect to your HostMyApple macOS VPS from HostMyApple. NoMachine is a free application. I truly enjoy using NoMachine because of the speed and quality of the connection it allows. This is one of many remote options you can choose from. Take a look at our blog for additional tutorials and options to connect to your brand new macOS VPS. HostMyApple offers a wide variety of macOS VPS for all of your needs, browse and see what suits you best.
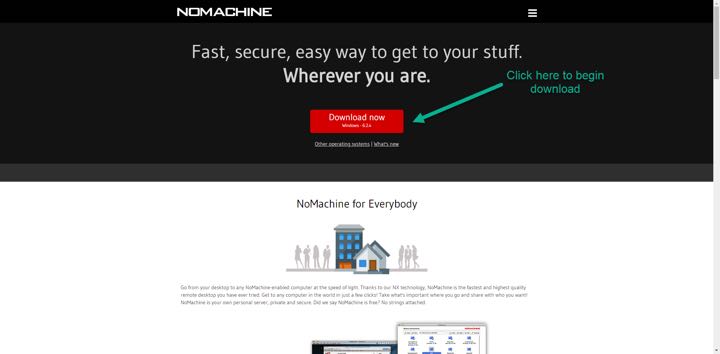
Step 1: Click “Download Now“.
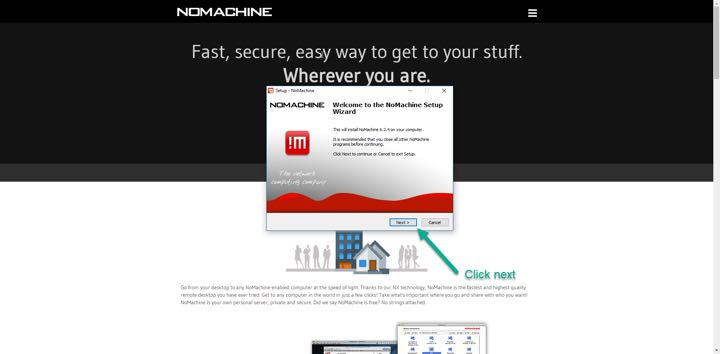
Step 2: Select “Next” to begin installation.
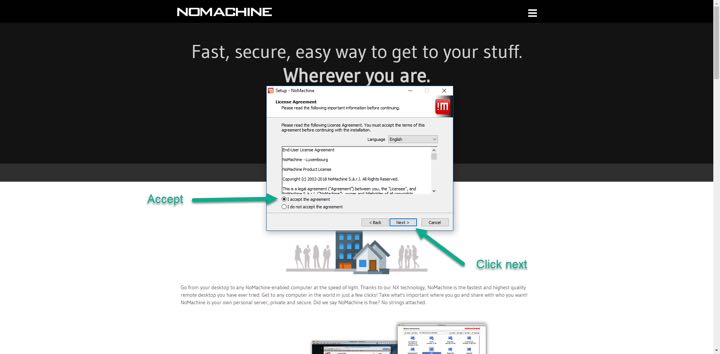
Step 3: “Accept” License agreement and proceed by clicking “Next”
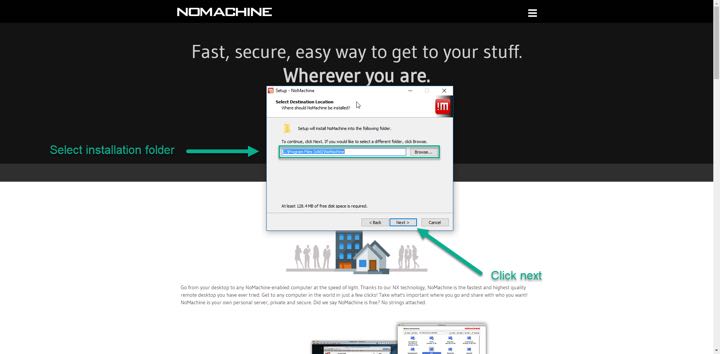
Step 4: Select “Destination Location” and then select “Next“.
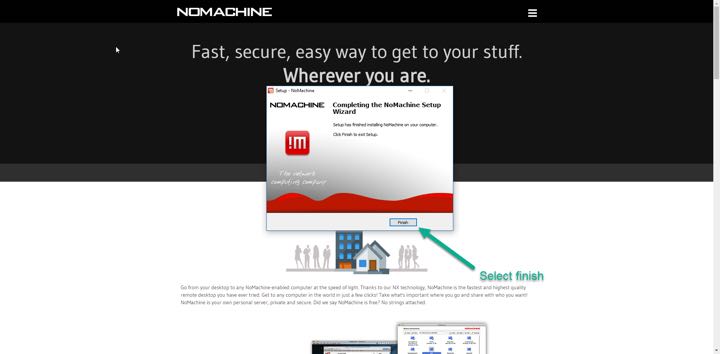
Step 5: Select “Finish“.
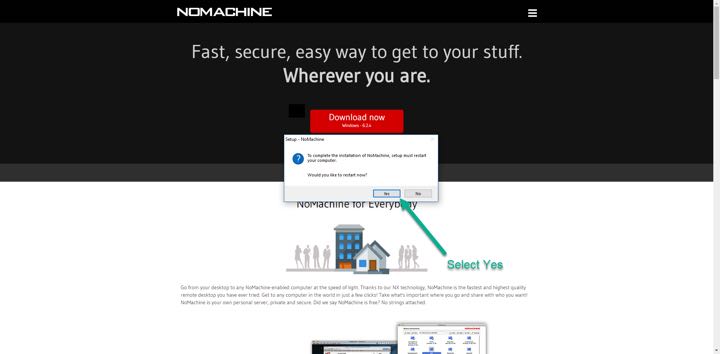
Step 6: Proceed with the installation by restarting your computer.
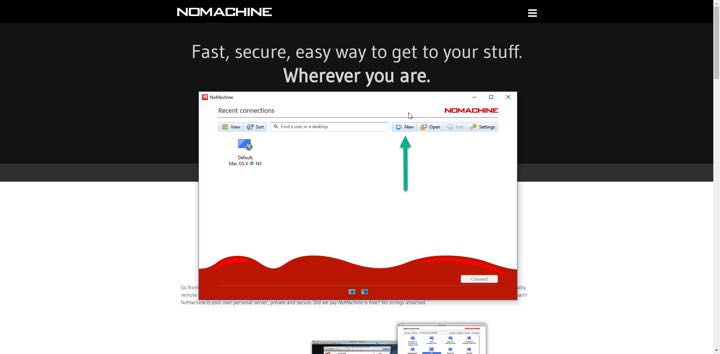
Step 7: Open “NoMachine” from your desktop and select “New
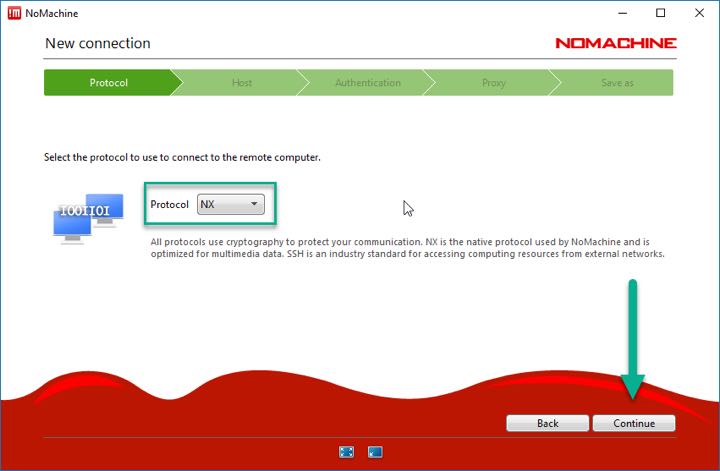
Step 8: Protocol – Select “NX“
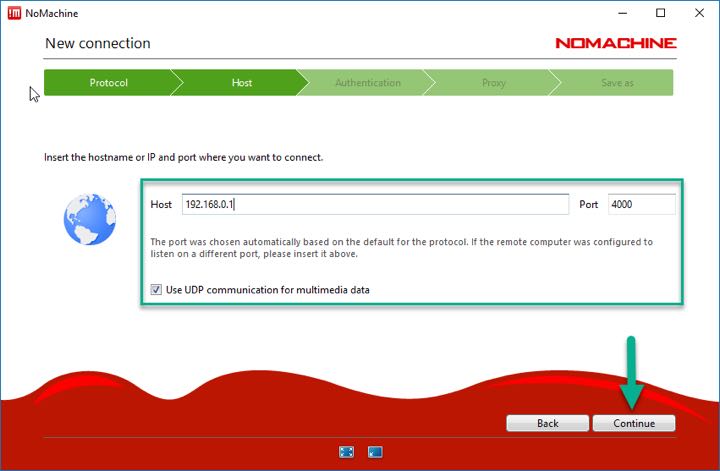
Step 9: Host IP Address – Input your HostMyApple Mac OS VPS IP Address that was assigned.
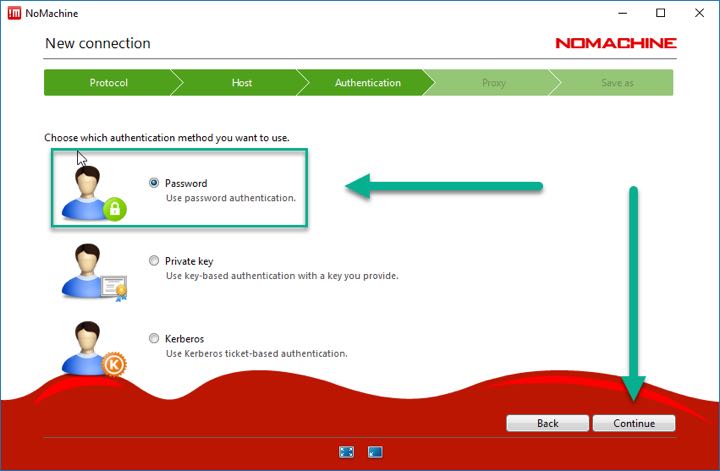
Step 10: Authentication – Select “Password“
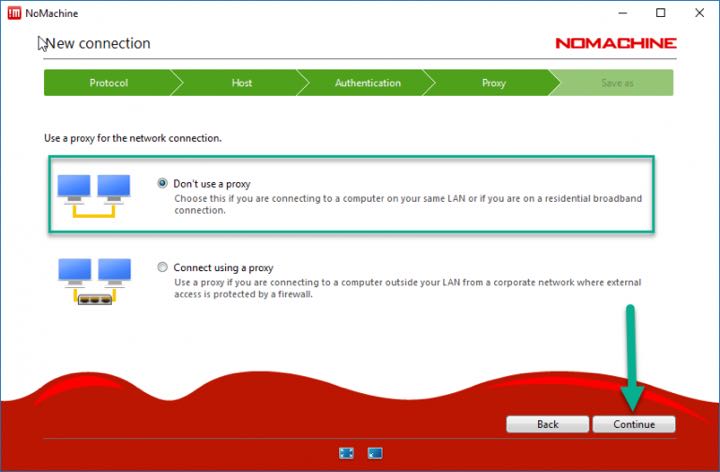
Step 11: Proxy – Select “Don’t use a proxy“.
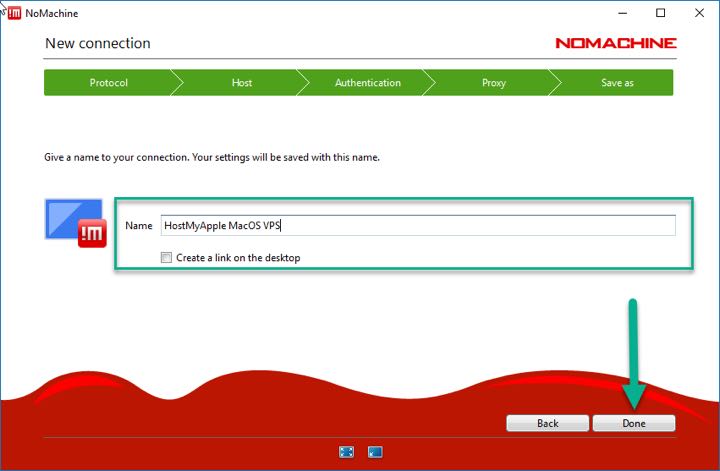
Step 12: Save As – Name your new NoMachine connection.
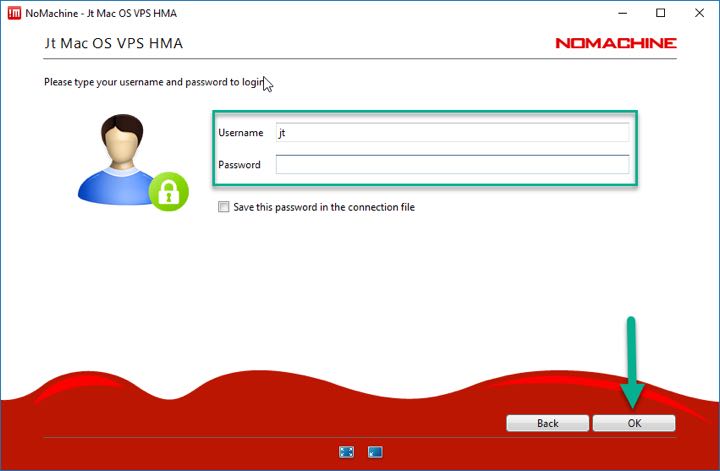
Step 13: Double click your brand new connection in NoMachine. Enter your credentials and select “OK“
Step 14: That's it! You should now be connected to your remote HostMyApple macOS Cloud Server!

We hope you've enjoyed this article, feel free to contact us if you have any questions about connecting to your HostMyApple macOS Cloud server!


