How to Install Homebrew on macOS
What is Homebrew?
Homebrew is a free and open source software package management system which allows for software to install in a more simplistic process. Homebrew was written by Max Howell in 2009. While it does use Ruby and integrates with github, the body of the packages covered will now be easier to grow. Homebrew usually uses public github repositories as its source, alongside it will use Ruby scripts to confirm the metadata about the package. In the end, if you are interested in installing software from the UNIX community on your macOS cloud server, this would be a great start.
Step 1: Open your web browser and navigate to https://brew.sh/
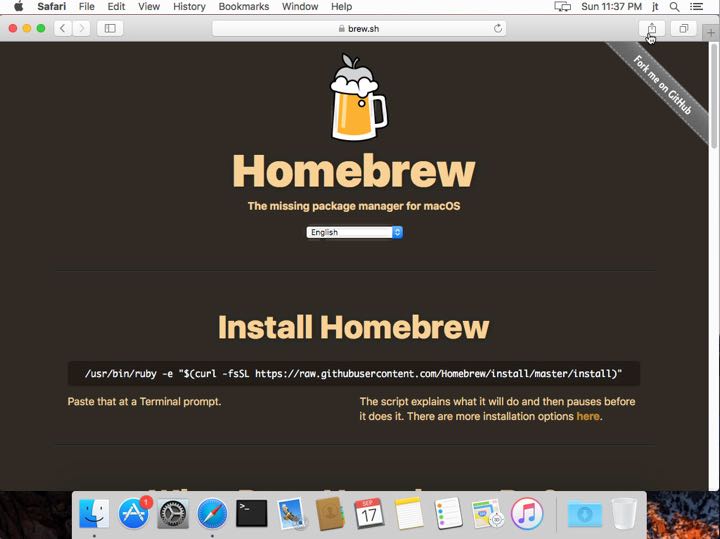
Step 2: Open up the “ Terminal “ application. (Applications>Utilities>Terminal)
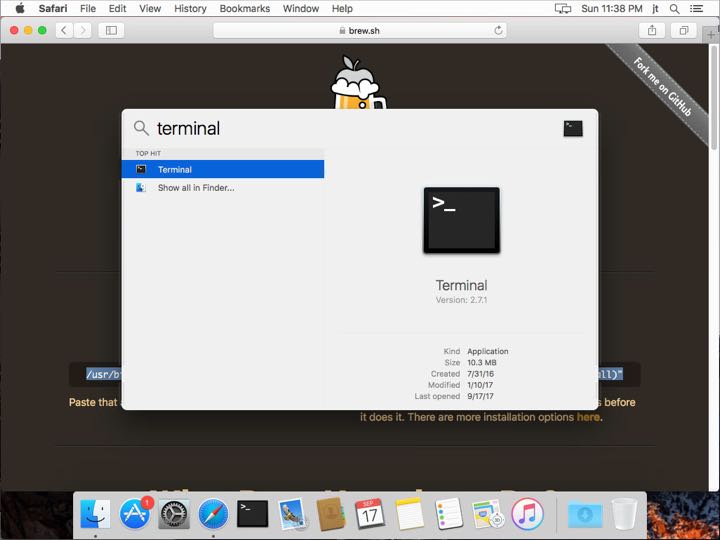
Step 3: Copy the script from the website: “/usr/bin/ruby -e “$(curl -fsSL https://raw.githubusercontent.com/Homebrew/install/master/install)”
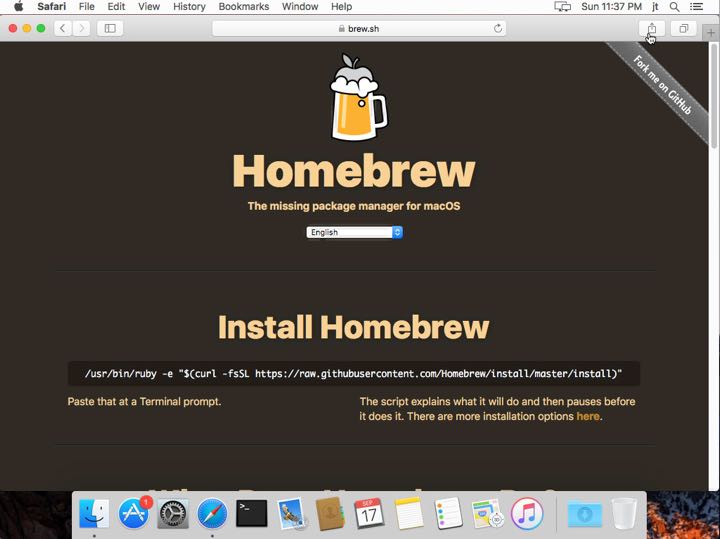
Step 4: Paste the script into the “ Terminal “ and press “Enter”.

Step 5: Your terminal will explain what is about to be installed and what directories are about to be created. At the bottom of the terminal it should ask you to press, “Return” to continue.

Step 6: Enter your password for the “Administrators” account; then press “Enter”(you will not see characters as you type).

Step 7: After you have entered your password, Command Line Tools for Xcode will begin downloading and installing.
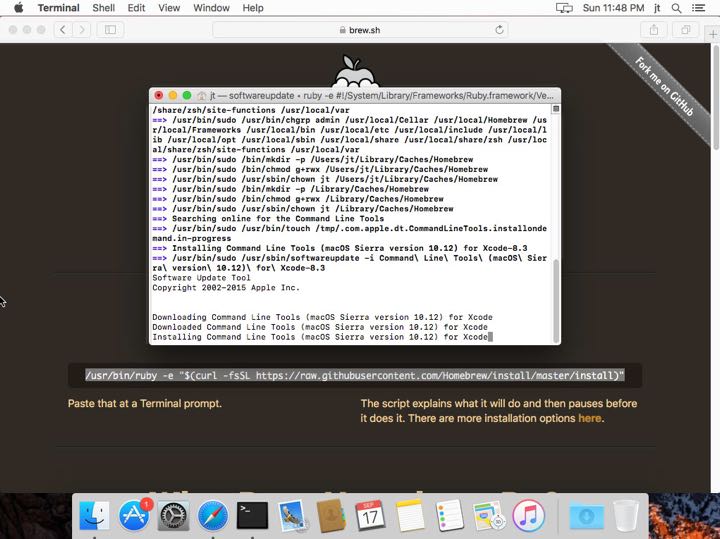
Step 8: When your Command Line Tools for Xcode installation is complete it will look like the screenshot listed below.
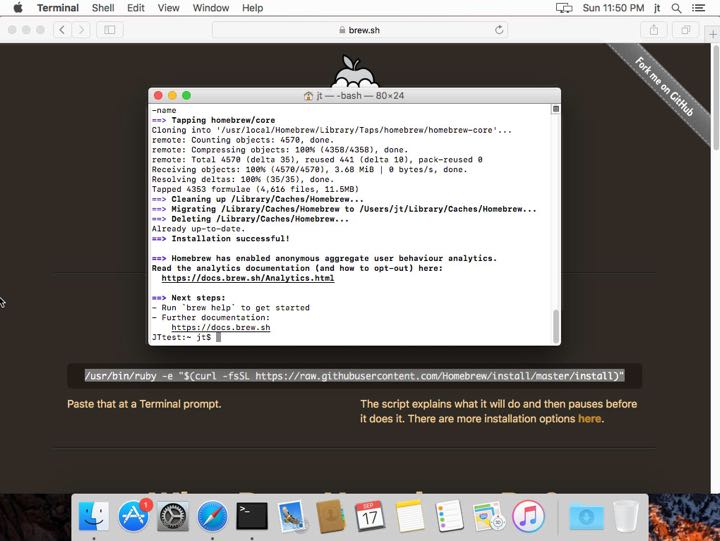
Congratulations, you have now installed Homebrew. Interested in testing out how Homebrew works and integrates? Even if you don’t own a Mac, Hostmyapple offers a variety of practical solutions to allow you to have your own macOS Cloud Server. We have unique options based on your requirements also at www.hostmyapple.com.


